Set up a custom domain for home server with Cloudflare and NGINX Proxy Manager
Forget about the cumbersome IP address of your home server—simply follow these steps to use a custom domain instead.

When setting up my home server, I definitely wanted to access some services from the internet (like this blog). For sure I can use the public IP address, but the thing is my house's public IP address is dynamic and I'm too cheap to afford a static IP address, so every time the modem restarts (quite often due to outages), a new IP address gets assigned.
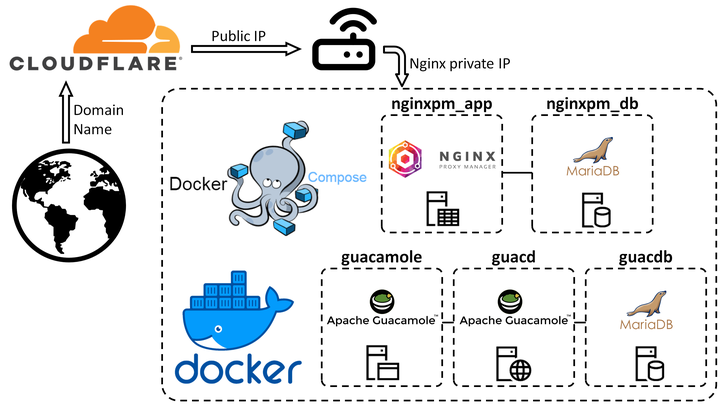
It bothers me a lot so I decided to purchase a cheap domain, and use it to expose my services to the internet with the help of Cloudflare, NGINX Reverse Proxy Manager, and a simple dynamic DNS script.
Prerequisites
- A domain (pick whatever you want, I got a dirt cheap one with ~$2/year including tax 💸)
- A Cloudflare account
- A running server with Docker installed
- Access to the internet modem
Assigning custom domain to your server
Set up the domain
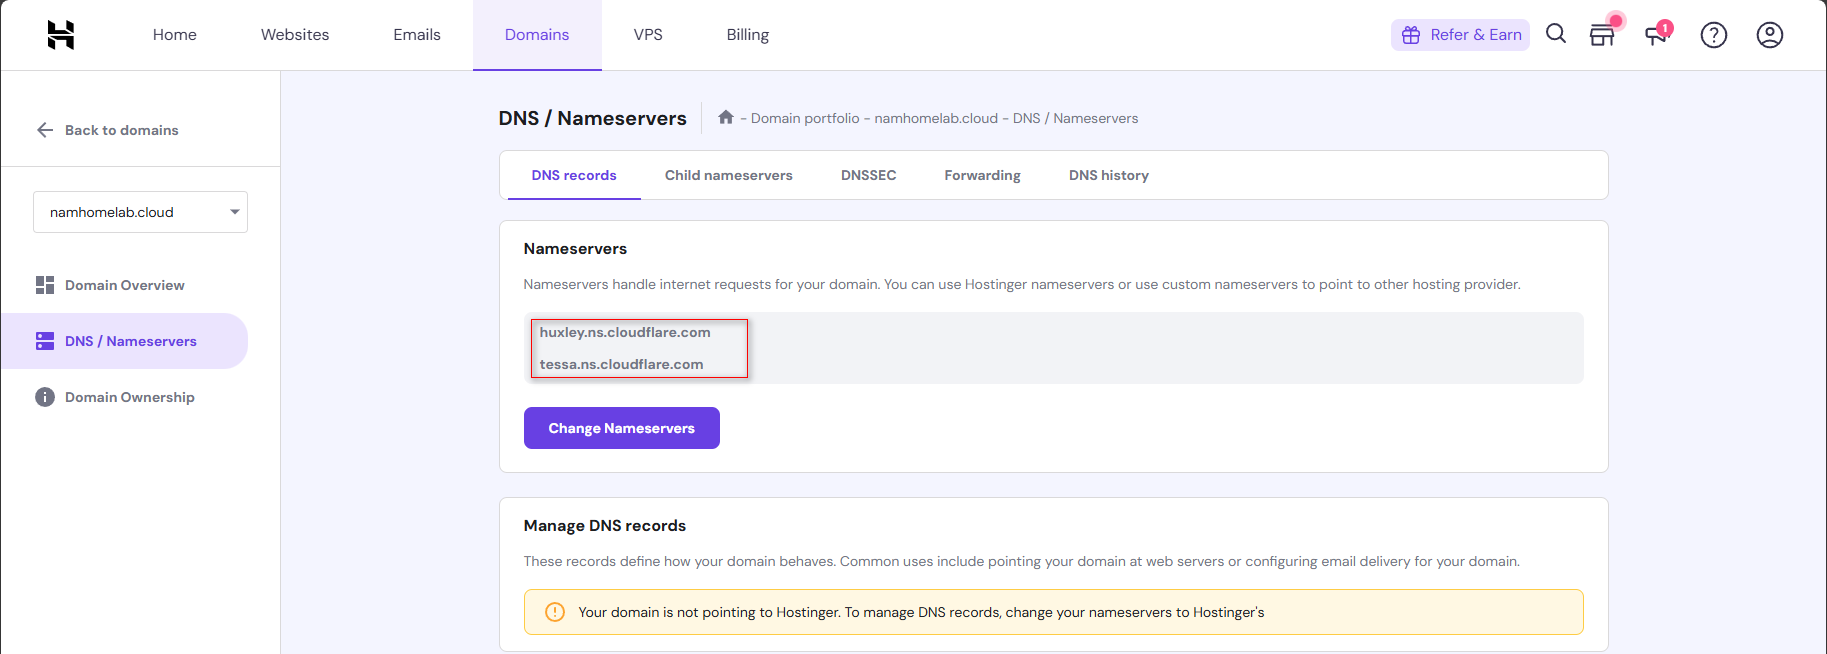
Change current nameservers of the domain to Cloudflare nameservers (Full set up here: https://developers.cloudflare.com/dns/zone-setups/full-setup/setup/)
For example my domain on Hostinger has been pointed to Cloudflare nameservers
Set up DNS records
- Navigate to the DNS Records section on Cloudflare.
- Add new DNS record to point the root domain to the server IP address
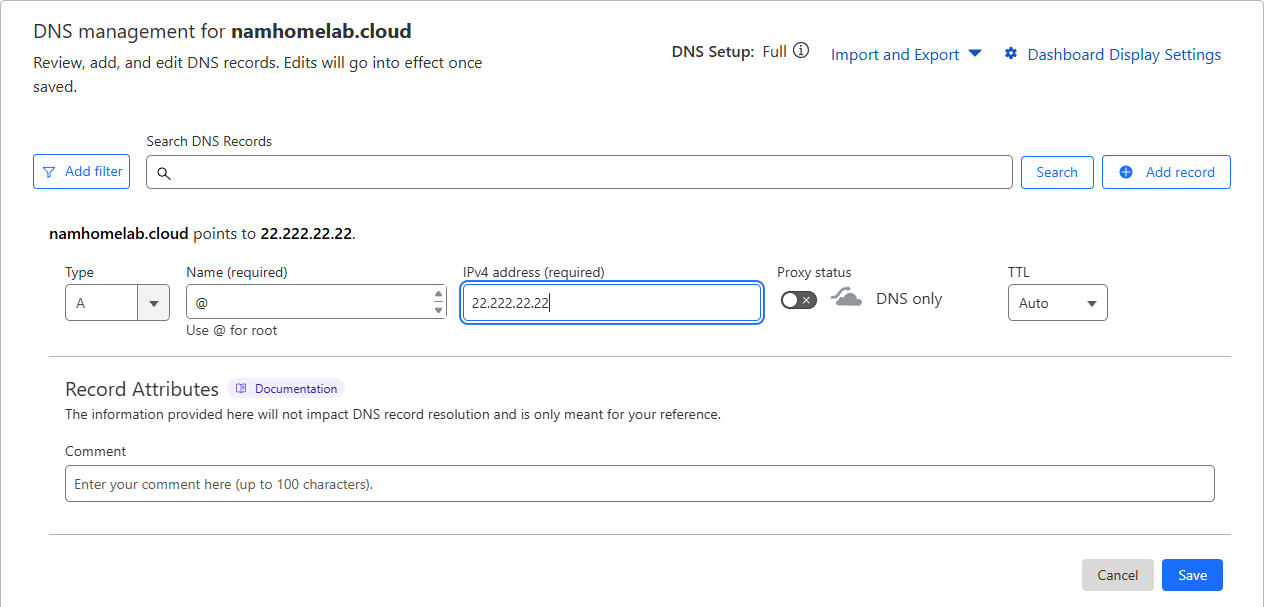
- Type A: the record type to point a domain to an IP address
- Name @: alias to root domain
- IPv4 address: the server's IP address
- Proxy status: use Cloudflare proxy server to hide real IP address of your server, this is an interesting feature but at first just turn it off for testing.
- TTL auto (5 mins): duration to cache the DNS record.
Normally new DNS record changes would take some minutes to be updated (for Cloudflare, other DNS providers would be different).
- Ping the domain on terminal to see whether it's pointed to the target IP address
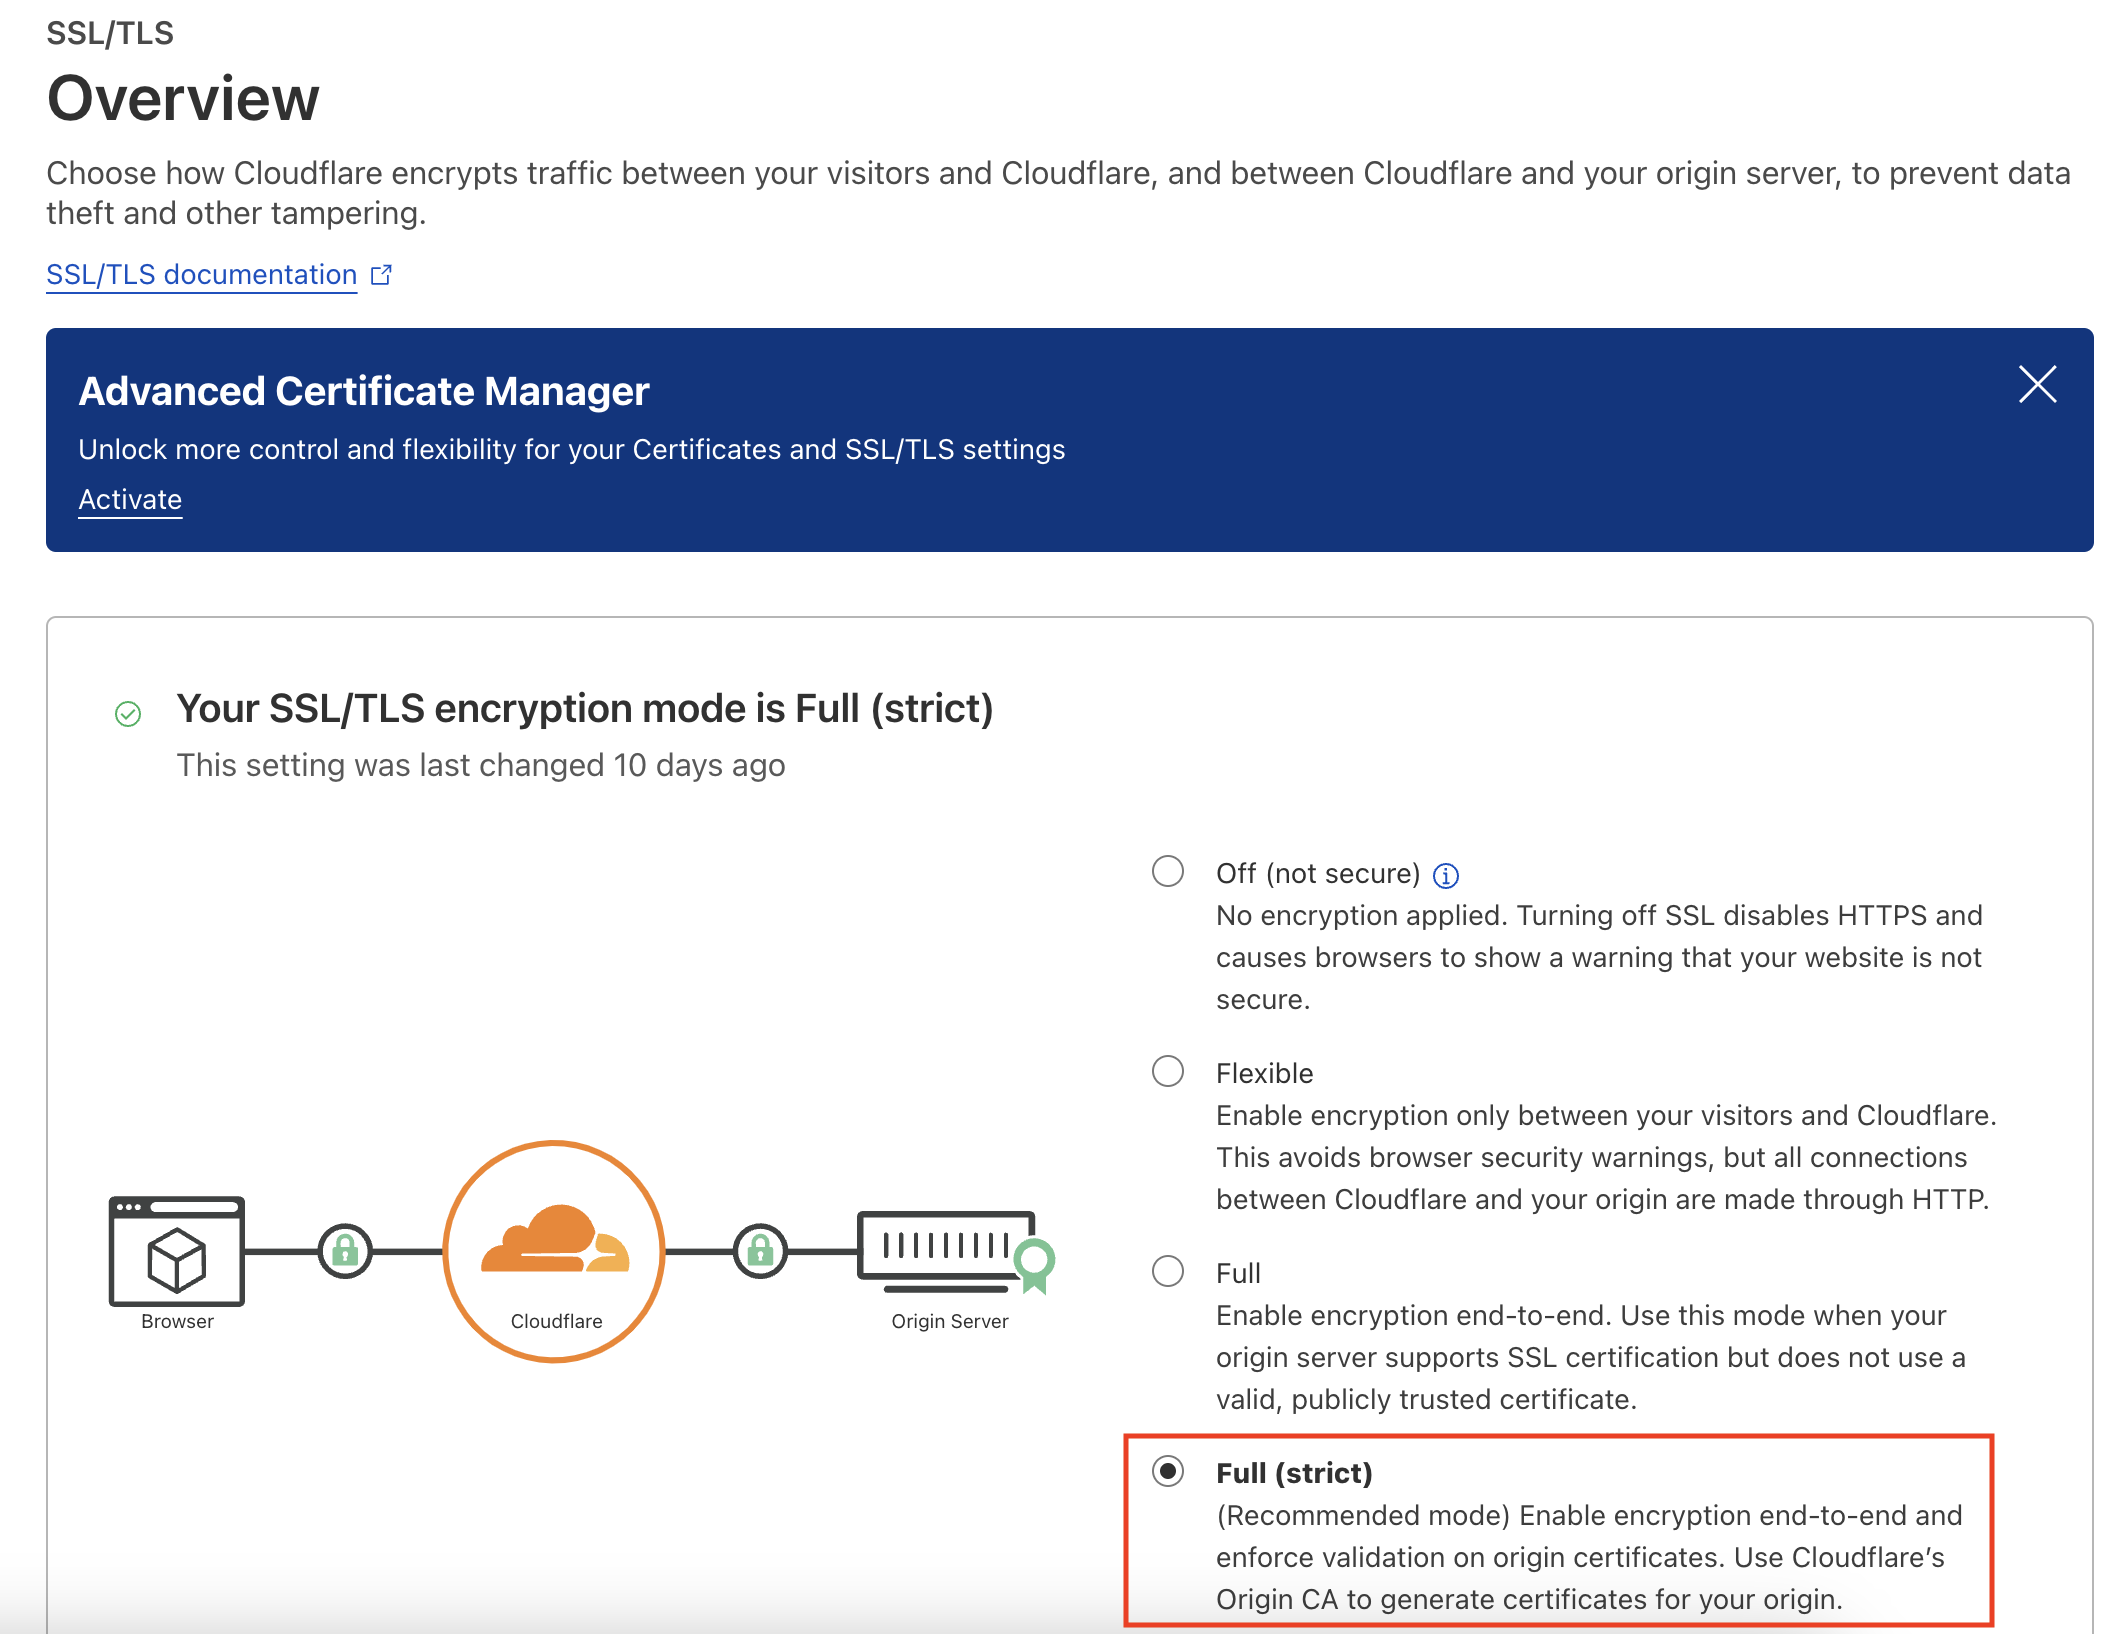
ping yourdomain.comWhen you see your house's public IP address here, you can go back to the DNS records screen and turn on the proxy status (this feature requires Full (strict) encryption mode so you might need SSL for your domain in advance before turning proxy status on)
Set up NGINX Reverse Proxy
- Run the docker-compose.yml file (run it directly with Docker Compose or run it on Portainer)
version: '3.8'
services:
  app:
    image: 'jc21/nginx-proxy-manager:latest'
    restart: unless-stopped
    ports:
      # These ports are in format <host-port>:<container-port>
      - '80:80' # Public HTTP Port
      - '443:443' # Public HTTPS Port
      - '81:81' # Admin Web Port
      # Add any other Stream port you want to expose
      # - '21:21' # FTP

    # Uncomment the next line if you uncomment anything in the section
    # environment:
      # Uncomment this if you want to change the location of
      # the SQLite DB file within the container
      # DB_SQLITE_FILE: "/data/database.sqlite"

      # Uncomment this if IPv6 is not enabled on your host
      # DISABLE_IPV6: 'true'

    volumes:
      - ./data:/data
      - ./letsencrypt:/etc/letsencrypt
Check if NGINX is active on ports 80 (HTTP) and 443 (HTTPS) by accessing your server's local IP address. You should see the default NGINX page displayed.
The NGINX web UI is also available at http://localhost:81 (the default account is admin@example.com/changeme)
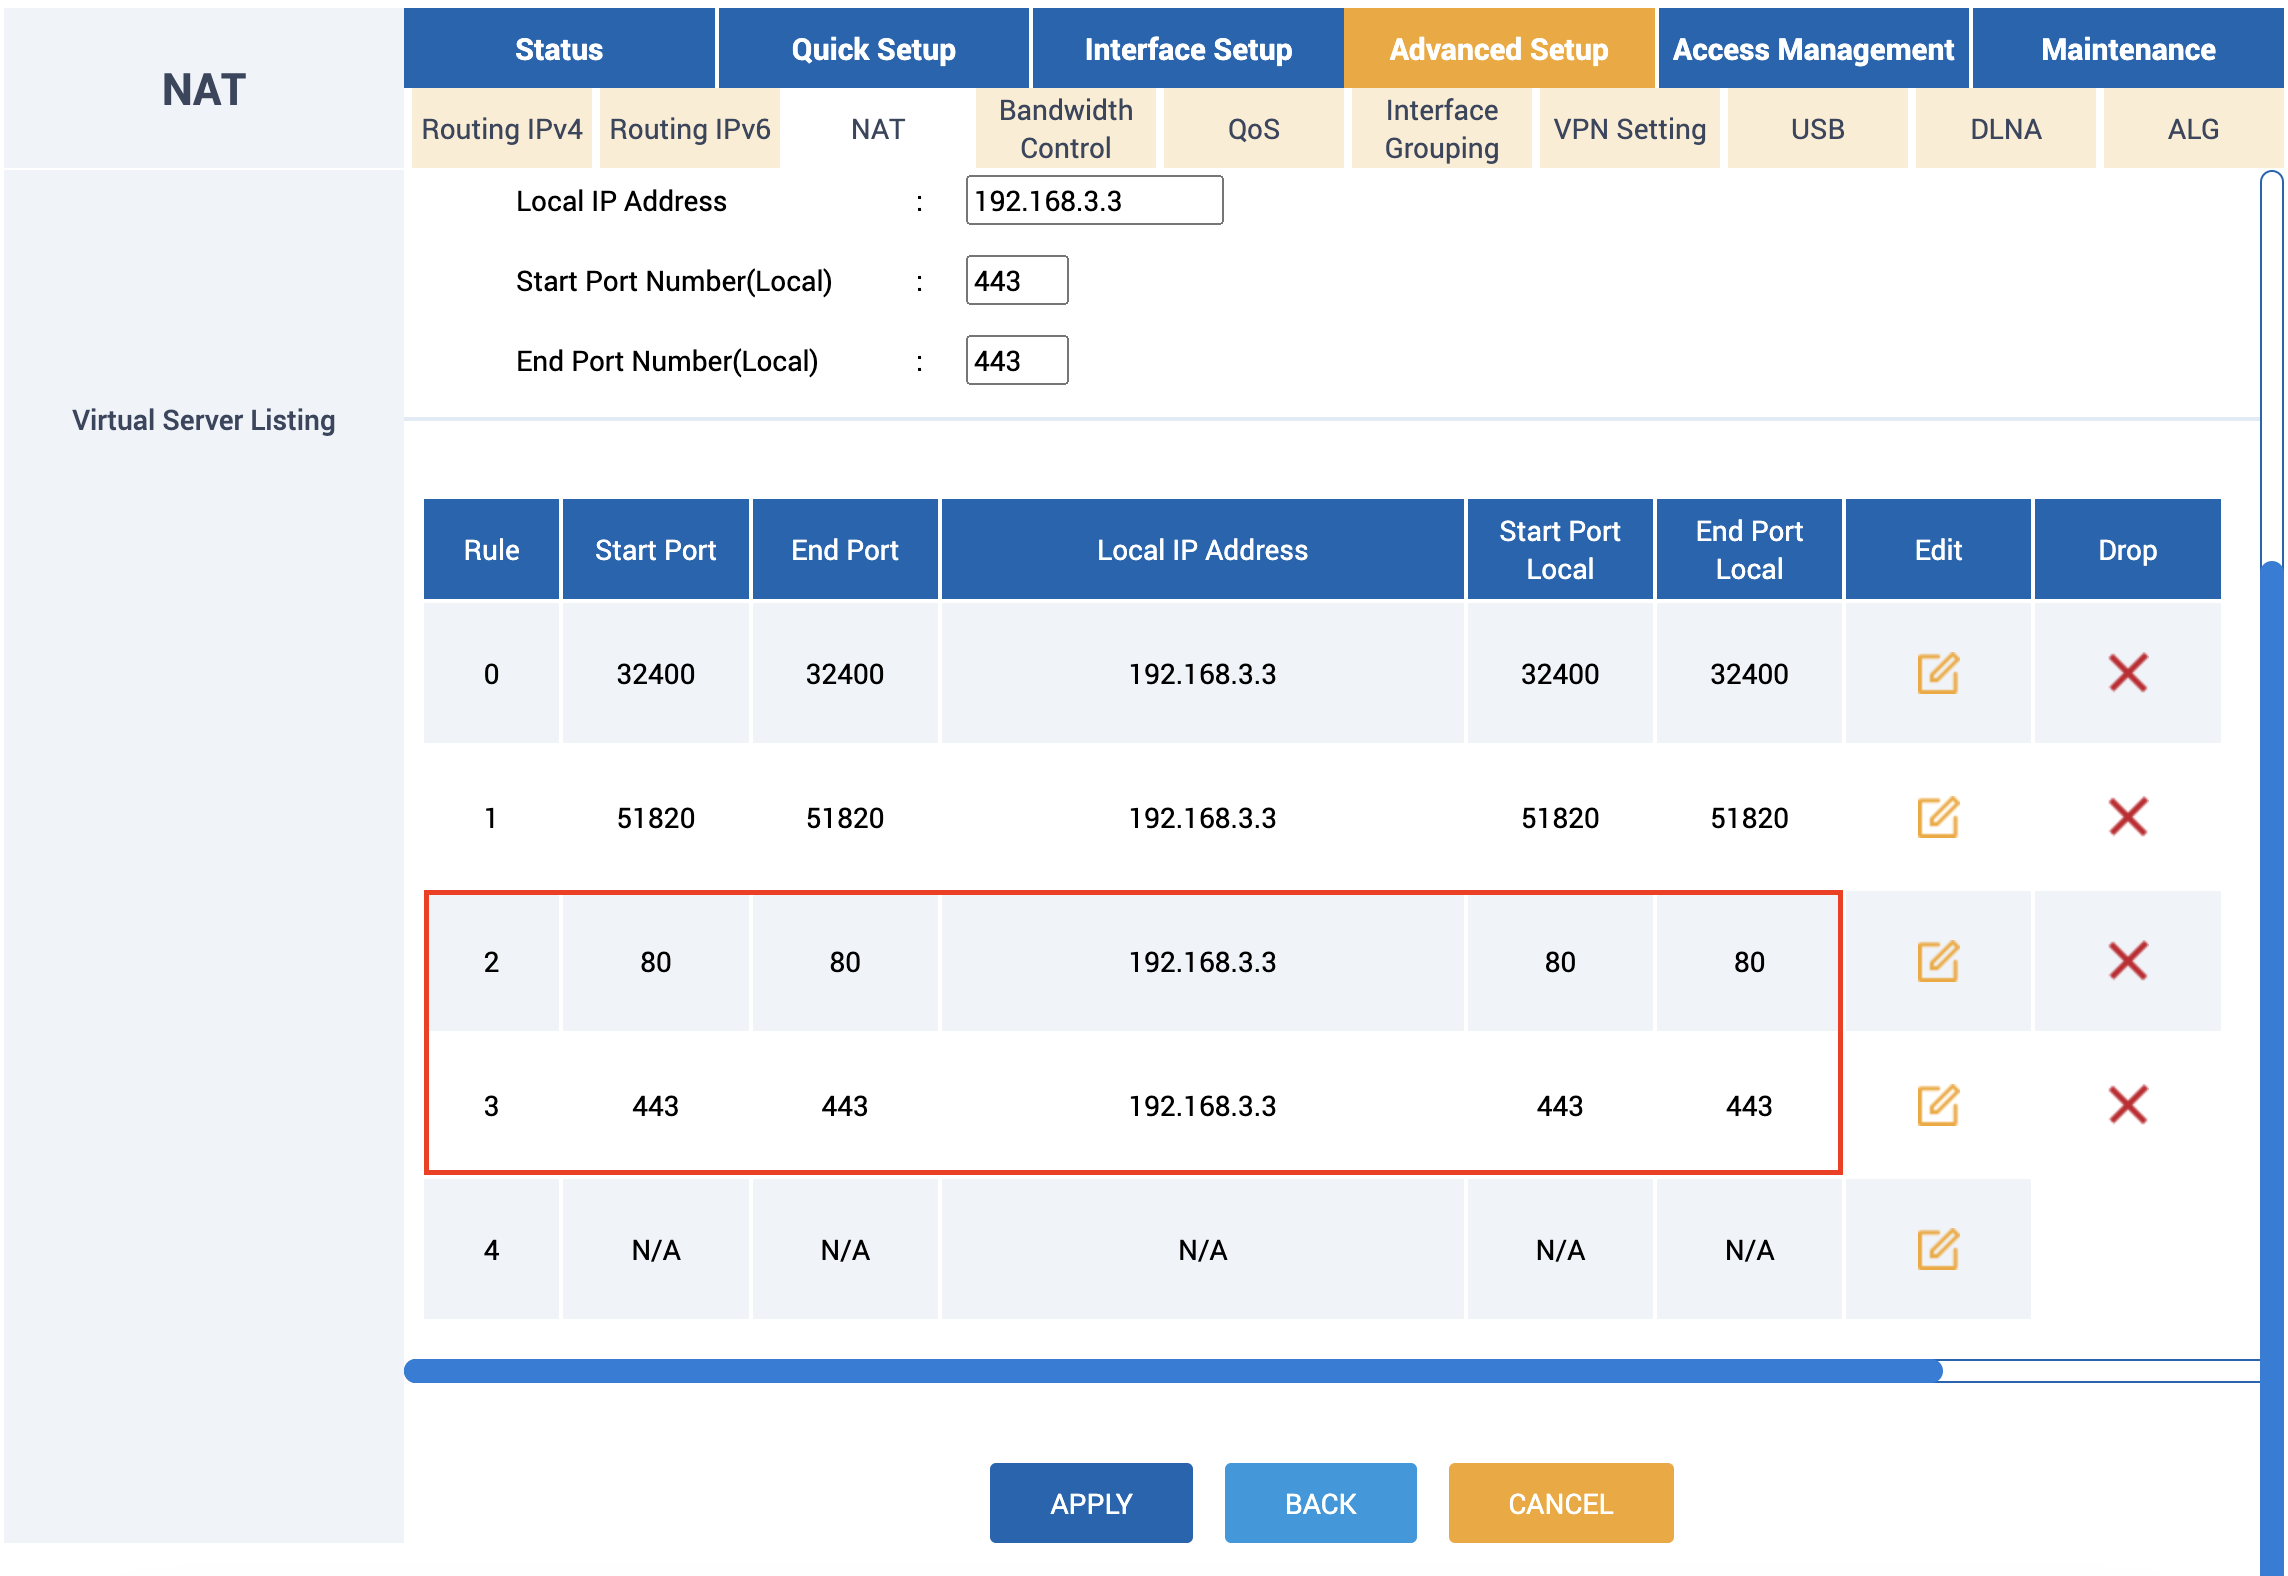
- Configure your internet modem to forward requests on ports 80 and 443 to your server's local IP address using NAT with virtual server mode, not DMZ.
At this point, when you access the public IP address of your house or the root domain, the default NGINX page should be displayed.
- Let's say you have a service running inside a container named
service-a-containerand it's listening on port 8080. A proxy to point the root domain to that service should be configured as follows:

Ensure the NGINX container's network is connected to the service-a-container's network so they can communicate with each other (connect them on Portainer UI or with a Docker command

- Access the domain again, and the UI of the service should be displayed.
Running Dynamic DNS script
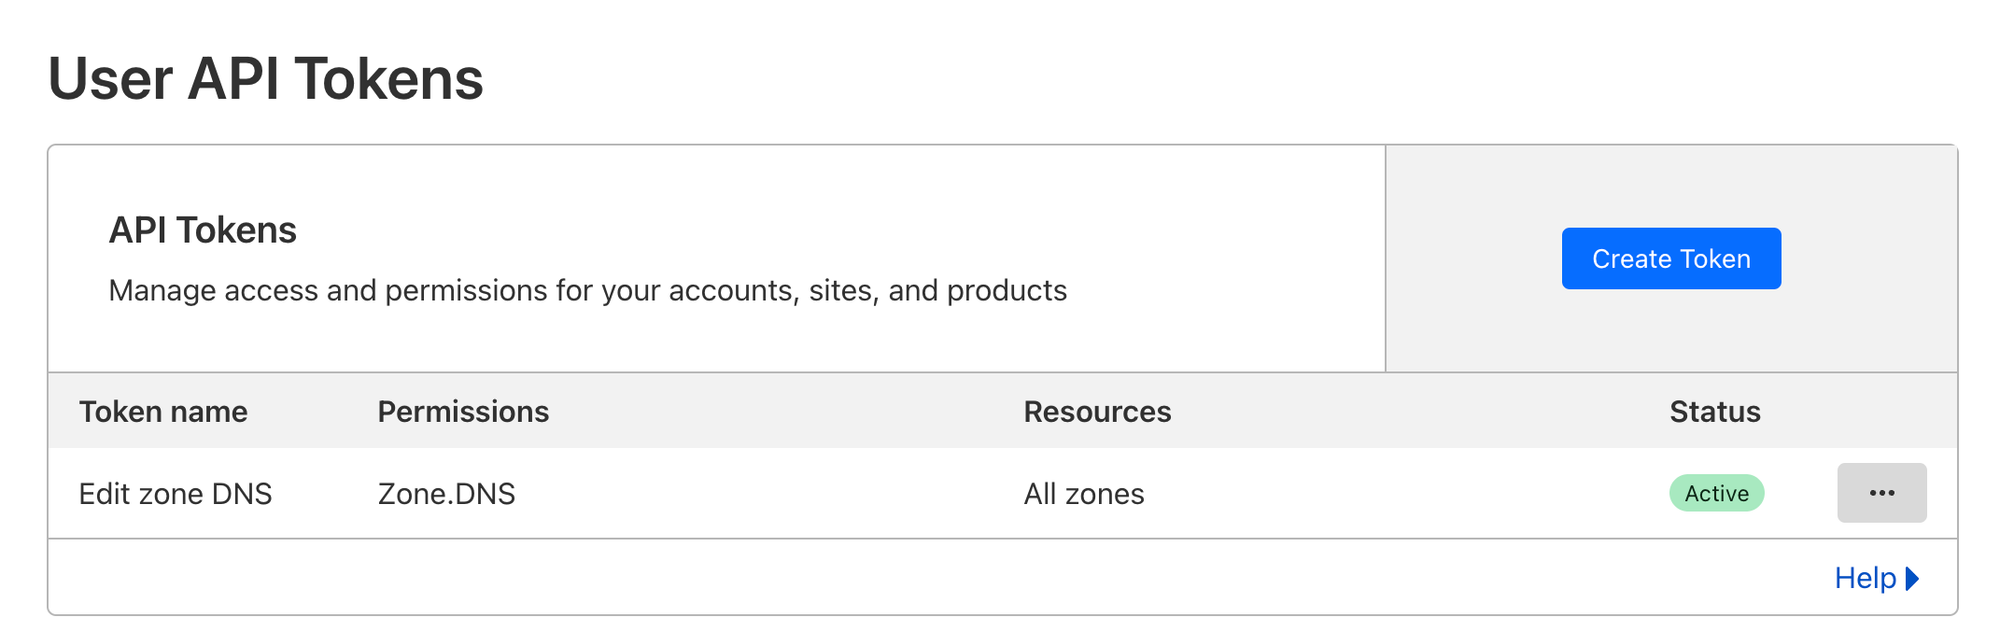
- Get API token on Cloudflare (scope zone)
- Check out the cloudflare-ddns repository and run it with Docker Compose
docker compose up --build -dThis script will retrieve the current public IP address of your house and compare it with the IP in the DNS records on Cloudflare every 5 minutes. If they are different, the script will update all DNS records with the new IP address.
Note that although the new IP address is applied to all DNS records, it may take a few minutes for DNS servers to update.
Summary
That's all steps you need and I hope this article can give you a concise guideline of setting up a custom domain for your home server.
